Caulking around tubs and showers prevents water damage and mildew in your bathroom, and is a super easy DIY. Here's how to get professional. Learn to caulk like a pro with this step.

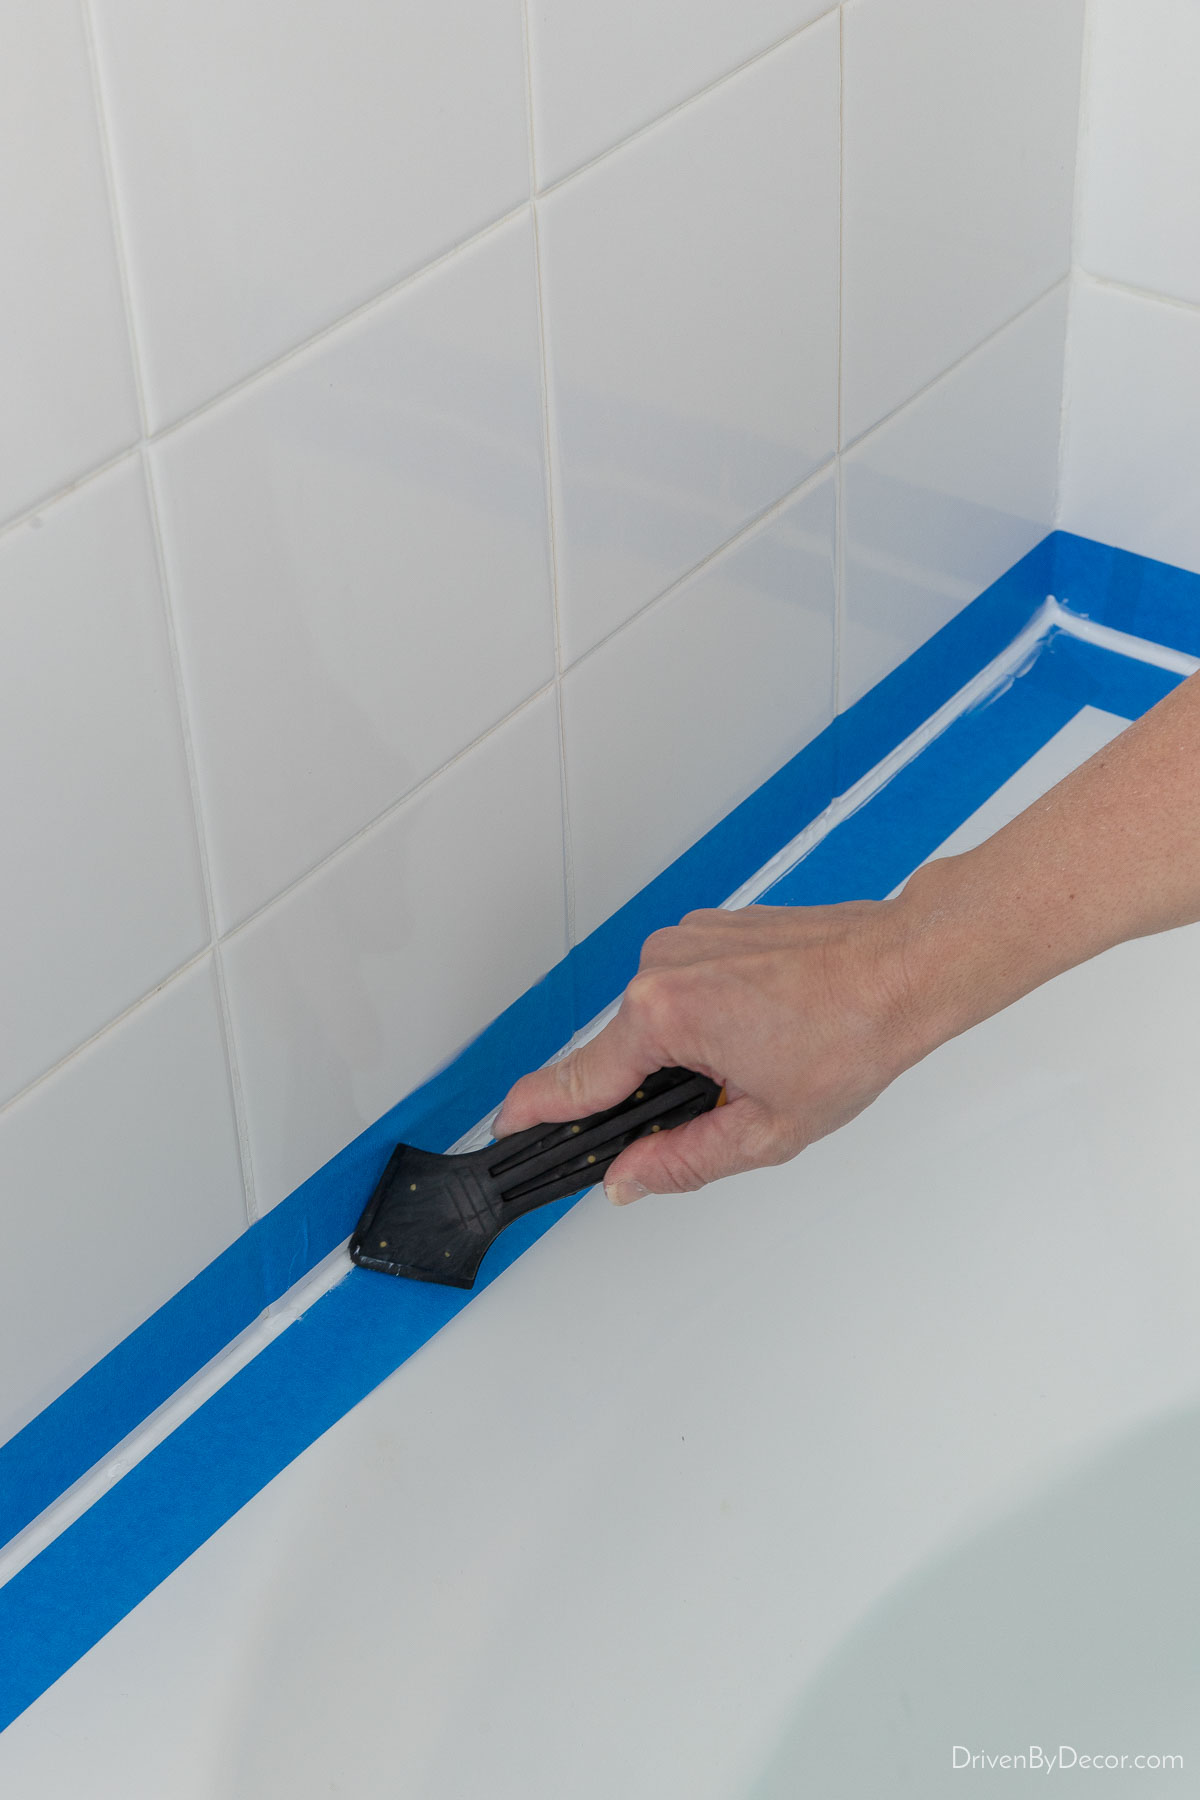
This easy guide covers the best tips for applying shower caulk perfectly, including how to remove old caulk, fill all cracks, and create a smooth, watertight seal without gaps. Transform your bathroom with this easy guide on how to caulk a shower surround like a pro. Expert tips and product recommendations for a professional finish that will make your bathroom look fresh and clean again.

How to Caulk a Shower or Tub Like a Professional
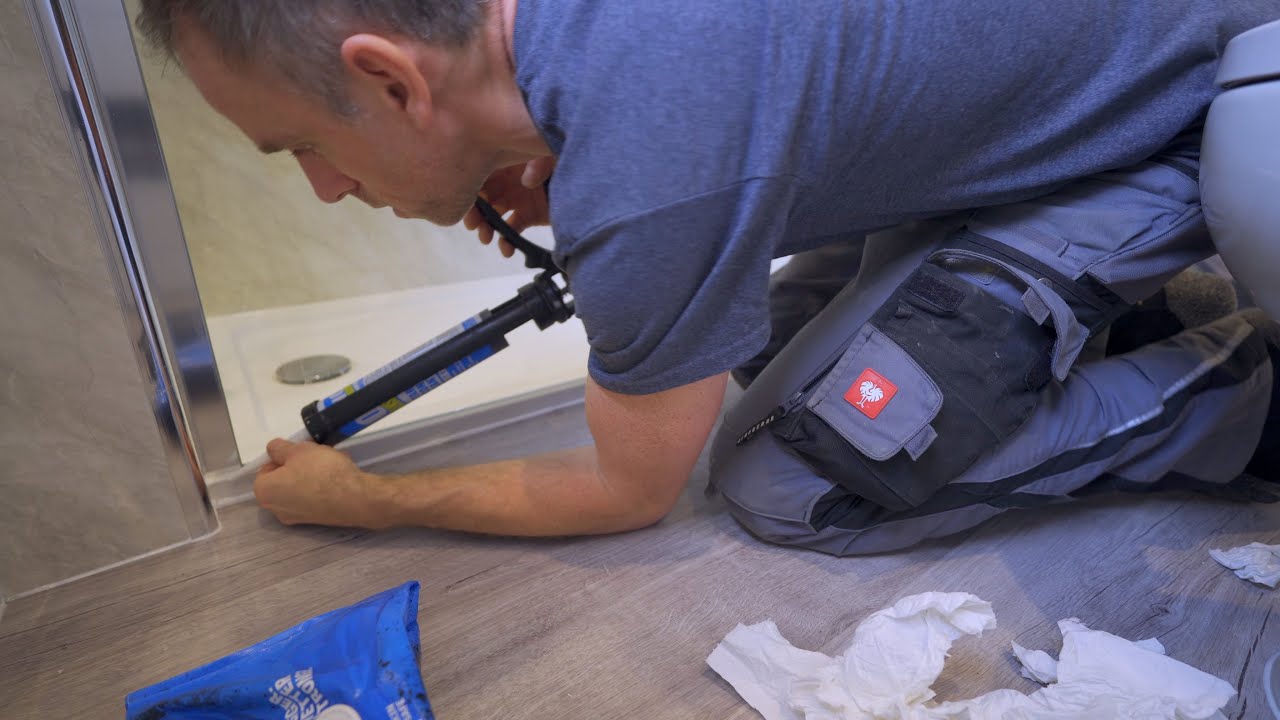
Ready to transform your shower from a moldy mess to a sleek sanctuary? You're in the right place! Caulking might sound like a job for the pros, but with a. How to Caulk a Shower Stall? To caulk a shower stall, start by removing any old caulk. Then, clean the area thoroughly and ensure it is dry.

Next, cut the tip of the caulk tube at a 45-degree angle, puncture the inner seal, and load the tube into a caulk gun. Is your shower looking worse for wear? Learn how to caulk a shower so it looks like new and enjoy the results. of your handiwork.

How to Caulk Like a Pro
Learn how to caulk a shower or bathtub like a pro. Discover professional tips, common mistakes to avoid, and cost. Are you tired of messy caulk lines or sealant that doesn't last? This guide shows pros how to apply silicone sealant for a polished, waterproof finish in any bathroom.
:max_bytes(150000):strip_icc()/caulking-the-bathroom-187091313-a22e0cfc811d4ed6870673079cf17bbf.jpg)
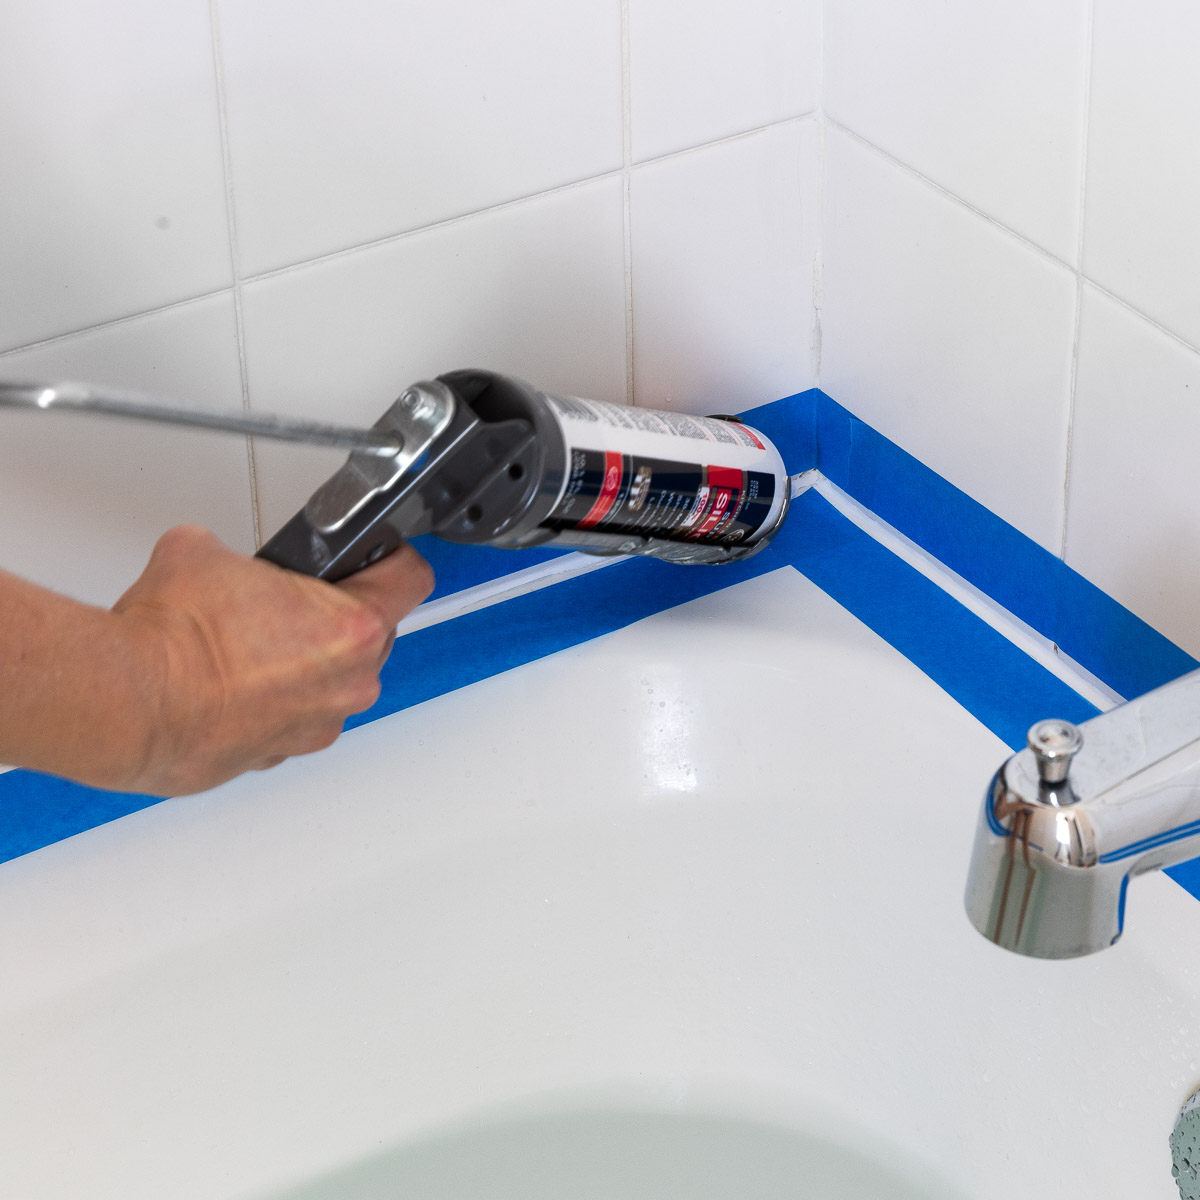
Caulking your shower or tub the right way can totally save you from future water damage, so knowing if you're actually done is super important. Alright, so first thing, when you're applying caulk, you want to make sure all the cracks and gaps are completely filled, which it sounds like you nailed.

:max_bytes(150000):strip_icc()/how-to-caulk-a-shower-5208078-hero-d8532bbc811141bf8b61b144761050d0.jpg)
:max_bytes(150000):strip_icc()/14499075312_e354681648_k-56b40c065f9b5829f82c4a6b.jpg)